This project was one of my favorites. first we started off with a regular picture of ONW. Next we opened a new tab in photoshop with the ONW compass. When we transferred the compass over we changed the opacity to 30% giving it a cloud color. With the same opacity we used a large font in impact and made the "ONW"
For this project we took several pictures from the hallways and offices and blended it in on the raven.First we opened a tab for each picture and brought each one in one-by-one. By changing the opacity and layering we can add multiple pictures. In the original ONW picture there was two light poles and cars in the way of the raven so I had to use the clone stamp to get rid of them.

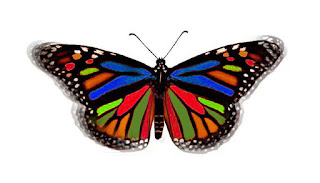
For the butterfly project we first changed the colors. We changed the colors using the magic wand by selecting the area and changing the color with the eyedropper. To make the flying effect we used the clone stamp tool for multiple layers giving the effect.
 This was very simple to make. To make this you use the text mask tool, then type the letters into the box. The effect is dependent on the opacity given to it, and the gradients.

No comments:
Post a Comment